Getting Started with Your First Sewing Machine
Threading, tension, and basic stitches explained. We walk through what actually matters when you're learning.
Before You Panic About the Manual
You've got your sewing machine home. It's sitting there looking slightly intimidating with all those dials and the bobbin thing that makes no sense. Here's the truth — you don't need to understand every feature right away. Most of what you'll do in your first year uses about three functions. Threading, tension, and a basic straight stitch. That's it.
The rest of this guide walks through exactly what you need to know to get stitching. Not the fancy stuff. Not the decorative patterns you'll probably never use. Just the fundamentals that'll have you making actual things in a few weeks.
Threading: It's Easier Than It Looks
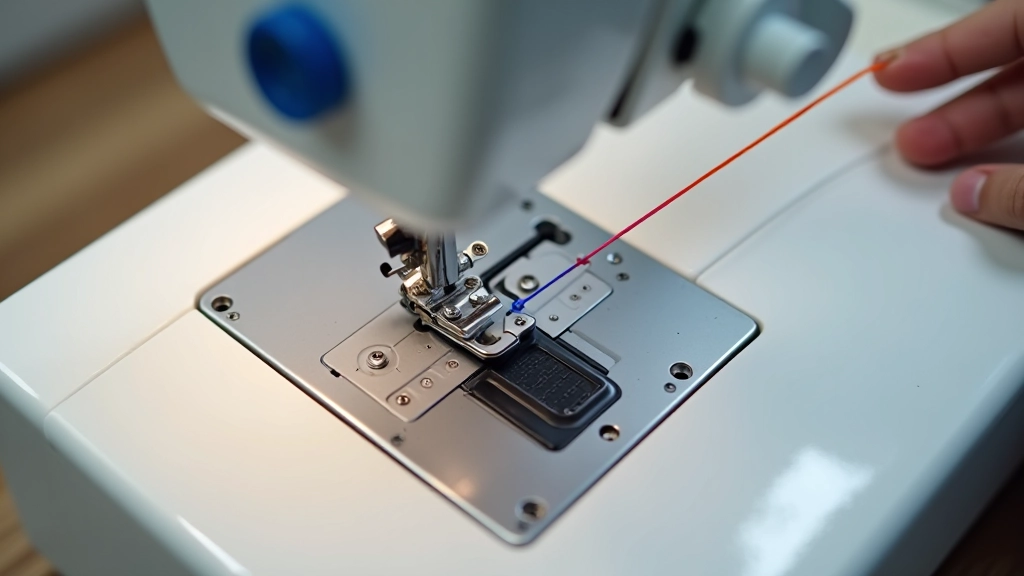
Threading is where most people get stuck. The path looks complicated — thread goes through here, then there, then somehow into the needle. But it's actually just one continuous route.
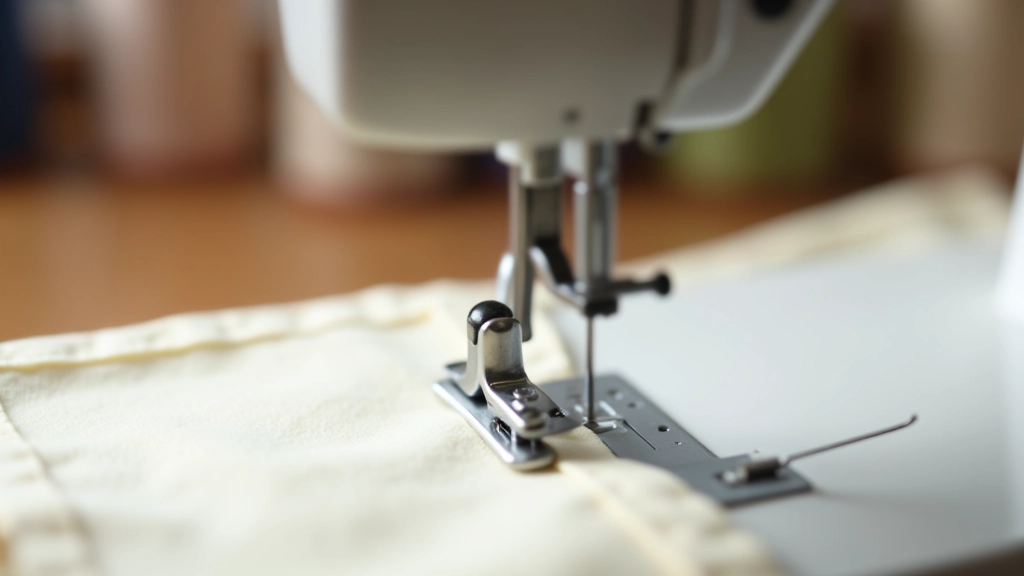
Your machine has a guide path. Follow it. Thread goes from the spool, down through the tension discs (those spring-loaded things), then through the guides above the needle, and finally through the needle eye itself. Most machines have little arrows showing the way. Really.
The needle threader is your friend here. It's that little wire loop on the side of your machine. Lower the presser foot, put your thread through the wire loop, then push the lever. It pulls the thread through the needle for you. Takes two seconds. Don't be a hero and try threading by hand your first dozen times.
Pro tip: Thread with the presser foot UP. This opens the tension discs so thread actually slides through. Foot down, and the thread gets stuck. Everyone forgets this once.
Tension: Where the Magic Happens
Tension is how tight the thread pulls through your fabric. Get it right, your stitches look neat and balanced. Get it wrong, and you've got loose loops on one side or puckered fabric on the other.
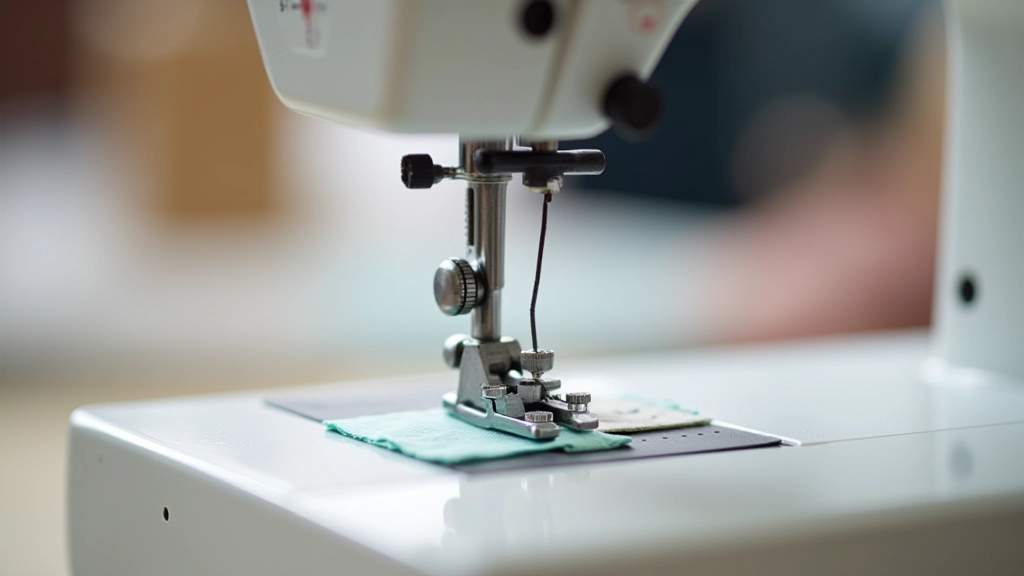
Most machines have a dial with numbers from 0-9. Start at 4 or 5. Sew a few stitches on a scrap of fabric. Flip it over. You're looking for stitches that look the same on both sides — top thread and bobbin thread locked together in the middle of the fabric.
If the top thread shows loops underneath, the tension is too loose. Turn the dial UP (higher number). If the bottom looks messy and the top pulls tight, the tension is too tight. Turn the dial DOWN (lower number). Most of the time, you'll never touch this dial again once you've got it set.
Quick Tension Check
- Both sides neat and even? You're done.
- Loops on back? Tension too loose. Increase the number.
- Bunched top, loose bottom? Tension too tight. Decrease the number.
- Change one number at a time. Don't jump from 3 to 8.
Your Three Essential Stitches
Your machine probably has 50+ stitch options. Ignore most of them right now. You'll use three.
1. Straight Stitch
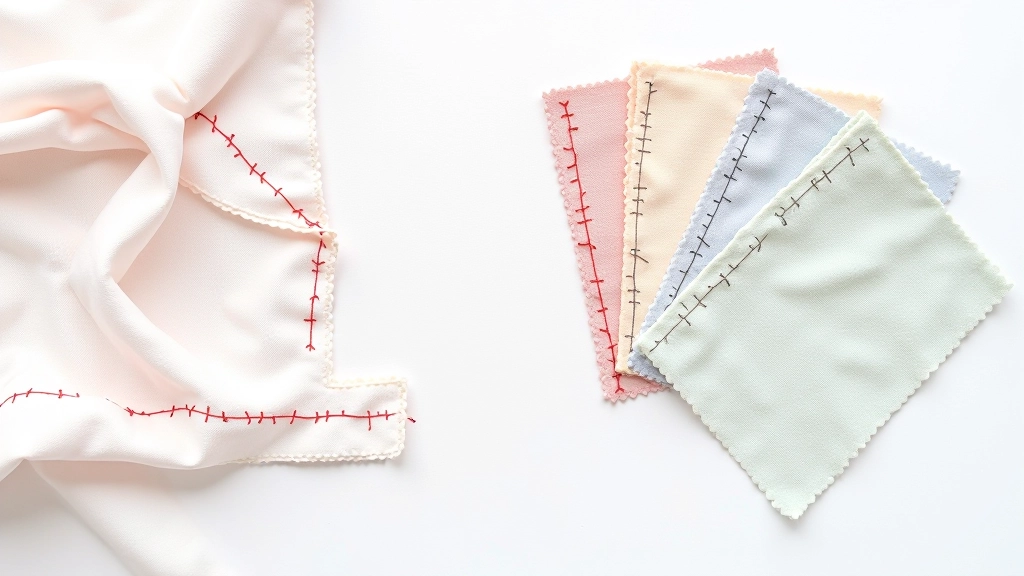
This is your workhorse. It's a simple up-down-up-down motion that creates a solid line. You'll use this for seams, repairs, hems, and about 90% of beginner projects. Set your stitch length to 2.5mm. That's a good starting point. Shorter stitches (1.5-2mm) for delicate fabric, longer (3-4mm) for thick stuff.
2. Zigzag Stitch
This one moves side-to-side while going forward. It's perfect for finishing raw edges so they don't fray, and for stretchy fabric where a straight stitch would snap. You'll need this eventually, but not week one.
3. Backstitch
Not a separate stitch, really. It's a button you hold to reverse. You backstitch at the start and end of every seam to lock the thread in place. Three or four stitches backward. That's it. This keeps your seams from unraveling.
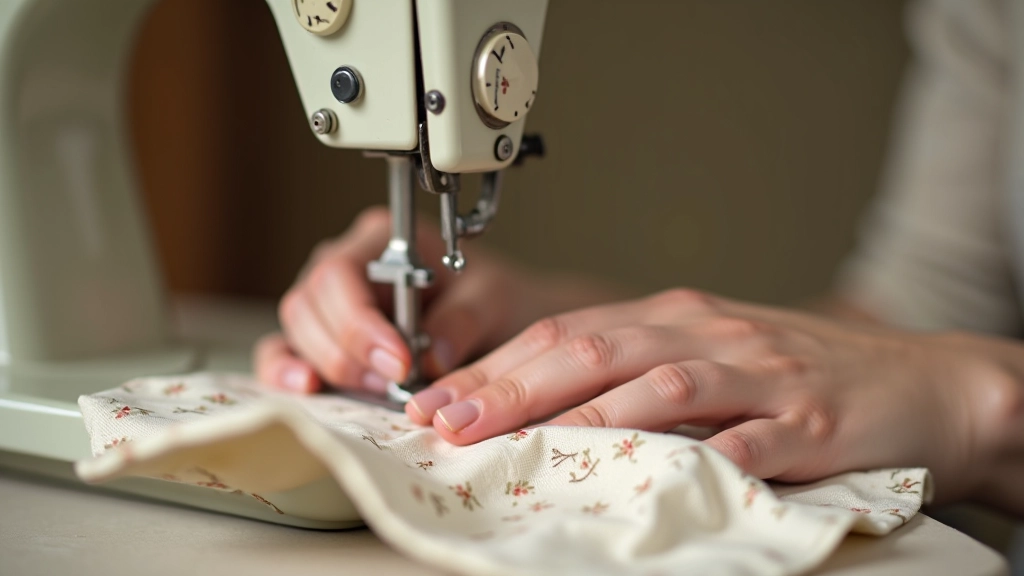
Your First Hour: Just Practice
Forget the actual project for now. Grab some scrap fabric — old sheets work great. Get your machine threaded. Sit down and sew straight lines for 30 minutes. Just lines. Don't worry about how they look. You're learning how the foot pedal feels, how fast to go, how to guide the fabric.
You'll probably sew crooked lines. That's normal. You're developing muscle memory. After 30 minutes of practice, try sewing a simple box shape. Doesn't have to be perfect. You're teaching your hands and eyes to work together.
By the end of that first hour, you'll feel way more confident. The machine won't seem scary anymore. It's just metal and thread doing exactly what you tell it to do.
First Session Checklist
Thread the machine (use the needle threader)
Test tension on scrap fabric
Sew 10 straight lines on scrap
Sew a simple box shape
Practice using the backstitch button
Educational Note
This guide provides general educational information about beginner sewing machine operation. Every sewing machine has slightly different features, dials, and mechanisms. Always consult your specific machine's manual for detailed instructions on threading, tension adjustment, and stitch selection. If you're unsure about any feature, contact the machine manufacturer or a local sewing expert. Safe sewing practices include keeping fingers clear of the needle, removing the presser foot before threading, and working in good lighting.
You're Ready to Start
That's really it. You don't need to understand every button and dial on your machine. Threading, tension, and straight stitches will get you through your first year of projects. Everything else you'll pick up as you go.
The hardest part isn't the machine. It's giving yourself permission to make wonky stitches and mistakes. Everyone does. You'll see people who've sewn for years still get frustrated with tension. That's normal. You're learning a skill, and skills take practice.
So thread that machine. Sew those practice lines. Don't overthink it. You've got this.

Continue Your Learning